[Tools & Resources]
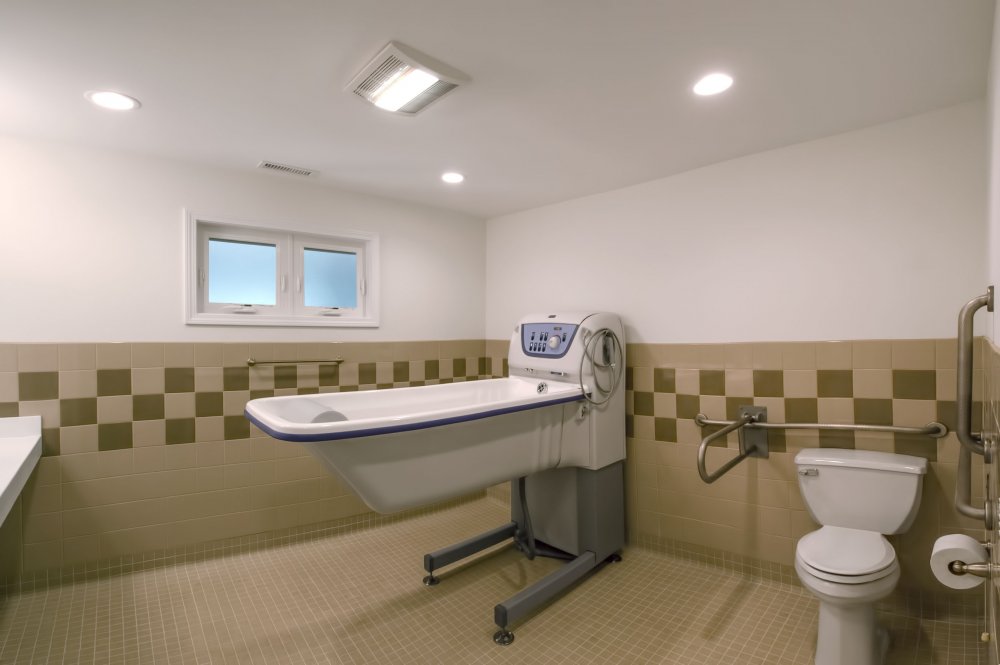
Over the past 45 years, CIL has learned the importance of designing homes that support aging in place and are adaptable to evolving needs. We’ve also found that bathrooms are the most common area needing repairs, so we’ve enhanced our approach to future-proofing bathroom design in our community residences.
Upgraded Bathroom Design
From the weight of the mud job, tiles, fixtures, equipment, and daily use by residents, we understand that the framing of a bathroom in a community residence needs to support a heavier load. In the past, we framed bathrooms 16” on center, consistent with the rest of the house. However, we recognized that these high-use areas could benefit from additional reinforcement. That’s why we’ve upgraded our design, now framing bathrooms 12” on center. This provides significantly more support, reducing the likelihood of flexing and increasing overall durability.

While I-Joists offer strength and long spans in residential construction, they can weaken if exposed to moisture, leading to costly repairs. To prevent this, we’ve switched to using solid 2”x10” LVL beams for bathroom floors. Unlike I-Joists, these beams are more resistant to moisture and can dry properly without losing their structural strength, reducing the need for future replacements.
Toilets in a community residence endure significantly more wear and tear compared to those in a typical home. Traditionally, residential toilets drain through the floor, but in high-use settings, this can become a vulnerability, increasing the risk of water damage. To address this, we’ve redesigned our bathrooms to feature wall-draining toilets. This approach eliminates the potential for leaks from the toilet flange through the floor.
In our original wet bathroom design, we included two floor drains—one in the shower area and one in the center of the room. However, we found that the pitch of the drain in the center sometimes allowed water to escape the bathroom and enter the hallway or main house. To improve this, our new design still features two drains, but we’ve repositioned the middle drain to the back of the room, aligning it with the shower drain. This linear setup significantly reduces the risk of water leaving the bathroom, ensuring a more efficient drainage system.

Future-Proof Tips & Tricks
1. NO LONGER INSULATING UNDER THE BATHROOMS
Previously we installed insulation in the crawlspace under the bathrooms. When any waterproofing failures occurred and water got through the floor, the insulation would retain the water against the framing, therefore accelerated degradation of the framing.
2. Avoid using floor door stops in bathrooms
Doors in community residences are quite heavy, and when they consistently hit a floor door stop, the force of the door eventually weakens and knocks the door stop out of the floor, creating an indent in the waterproofing in the floor and creating a point of weakness for water to get through.
3. Upgraded caulking
Bathroom corners are especially vulnerable to water penetration, making proper caulking essential. However, not all silicone sealants are created equal. At CIL, our best practice is to use high-performance silicone sealant that offers superior flexibility and easier application.
4. caulking toilets
CIL has found that adding caulking around the toilet provides an extra layer of protection, helping prevent water from seeping beneath the toilet and into the framing below.
5. water/flood testing
After the water-proofing system is installed in the bathroom, we perform a flood test to ensure that the system is truly watertight.
6. use of sensor lights & fans
Sensor fans, triggered by moisture, help prevent water damage by improving air circulation, while sensor lights eliminate the need for staff to manually turn them on and off, reducing energy consumption and improving efficiency.
7. post-occupancy review
After 6 months of residents living in the home, CIL will perform a visual review of the basement/crawl space to check for signs of water penetration.
8. annual upgrades & inspections
Each year, CIL will conduct a thorough maintenance routine for every home. This includes re-caulking the bathroom corners and around toilets, inspecting the entire home for water damage—particularly in basements and crawl spaces—and performing any necessary upgrades to bathroom tiles, grout, fixture attachments, grab bars, and other key elements to ensure lasting durability and functionality.
Please contact us hereif we can make this page more accessible for you.


